

Device Wrapper Documentation
Latest update on 30.03.2025
1. Overview
This page provides instructions for installing, configuring, and using the Device Wrapper WordPress plugin. The plugin enables users to wrap an image, video or iframe into a device mockup, providing a more professional and polished look to their content.
If you need assistance, visit our Support Page.
2. Getting Started
2.1 Installation & Activation
Installing from WordPress Repository
- Go to WordPress Dashboard > Plugins > Add New Plugin.
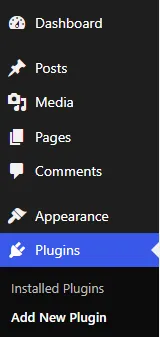
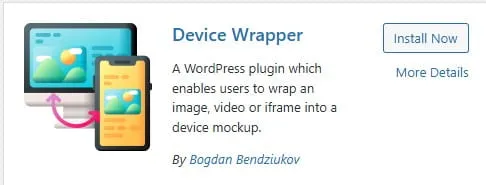
- Search for Device Wrapper.
- Click Install Now and then Activate.
Uploading the Plugin Manually
- Download the latest version from the WordPress plugin repository.

- Go to WordPress Dashboard > Plugins > Add New Plugin > Upload Plugin.
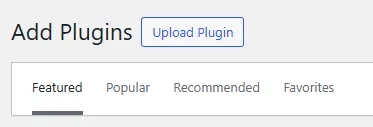
- Upload the ZIP file and click Install Now.
- Activate the plugin after installation.
2.2 Installation & Activation (Premium version)
- Navigate to the checkout page of the Device Wrapper Premium plugin:
https://checkout.freemius.com/plugin/12318/plan/20929/licenses/unlimited/
The link above is also available in the Free version, when you navigate to Settings -> Device Wrapper -> Upgrade tab: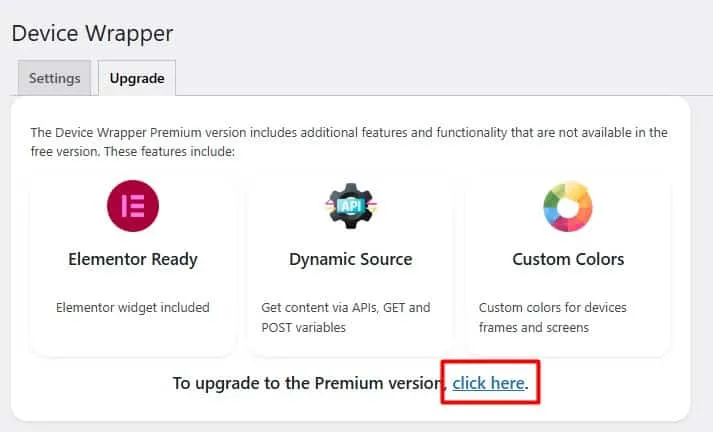
- Select desired billing plan (annual or lifetime) and complete the checkout process.
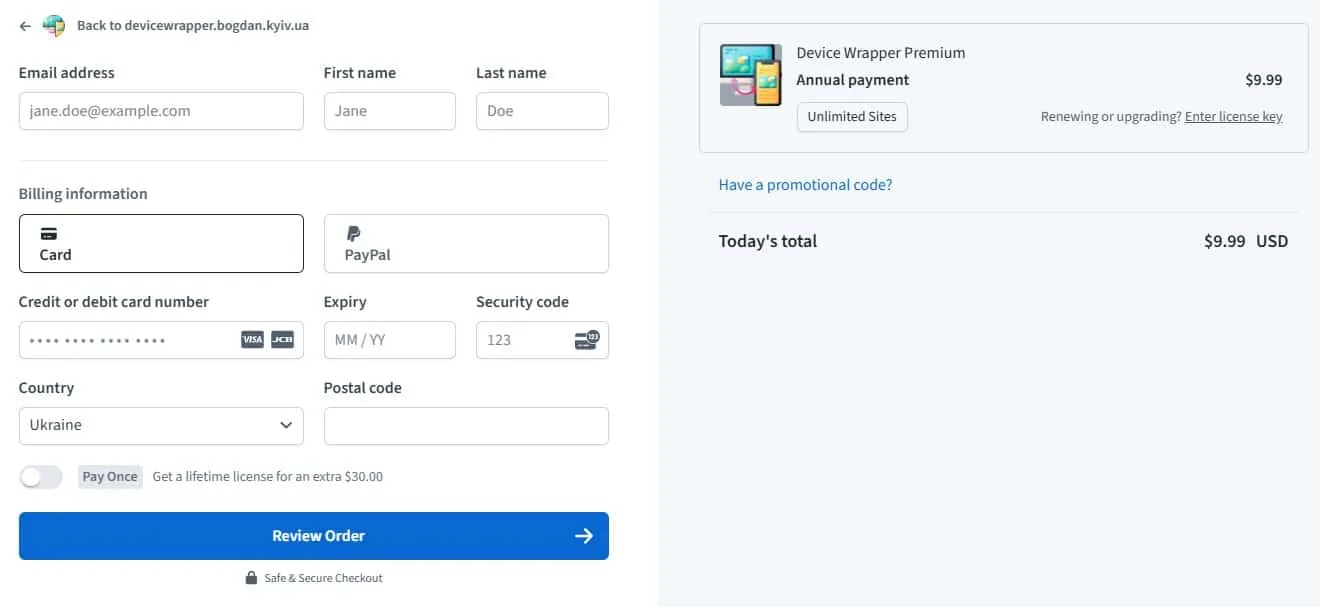
- After payment, you will receive a confirmation email with the download link and license key.
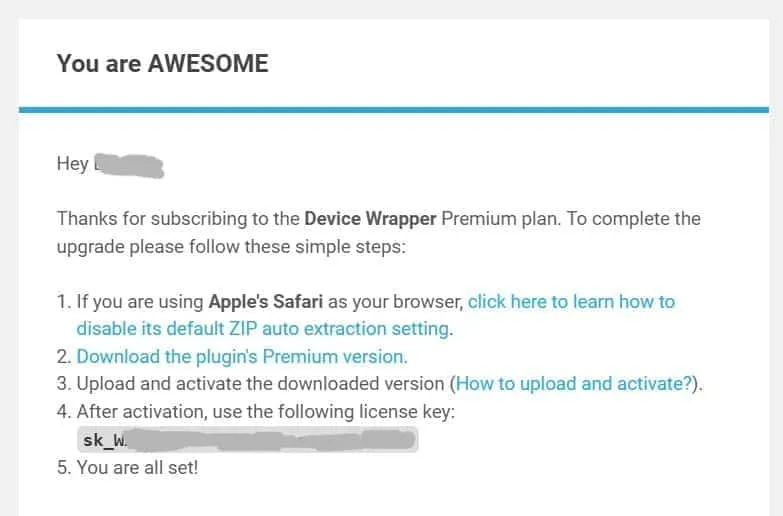
- Save the Premium’s version ZIP file (
device-wrapper-premium-latest.zip) to your computer. You can do that by clicking on the download link in the email (Download the plugin’s Premium version). - Install the Premium version by navigating to Plugins > Add New Plugin > Upload Plugin.
- Upload the ZIP file and click Install Now.
- Activate the Premium version of the plugin after installation.
- After activation, copy and paste the license key from the email. You can do that on the Settings page of the plugin (Settings -> Device Wrapper):

3. Plugin Usage
The Device Wrapper plugin does not require any specific configuration. Once activated, the plugin adds a new shortcode to WordPress that can be used to wrap images, videos or iframes into device mockups. It also provides a custom block for Gutenberg editor and a custom widget for Elementor builder.
3.1 Gutenberg Block
The Device Wrapper plugin also provides a Gutenberg block that can be added to your posts and pages. Simply search for “Device Wrapper” in the Gutenberg editor and select the appropriate device type and other options.
Here’s a step-by-step guide of how to add a new Device Wrapper block to a WordPress site using the Gutenberg editor:
Step 1: Log in to your WordPress site
Log in to your WordPress site with your username and password.
Step 2: Create a new page or post
Create a new page or post by clicking on the “Add New” button in the top left-hand corner of the WordPress dashboard.
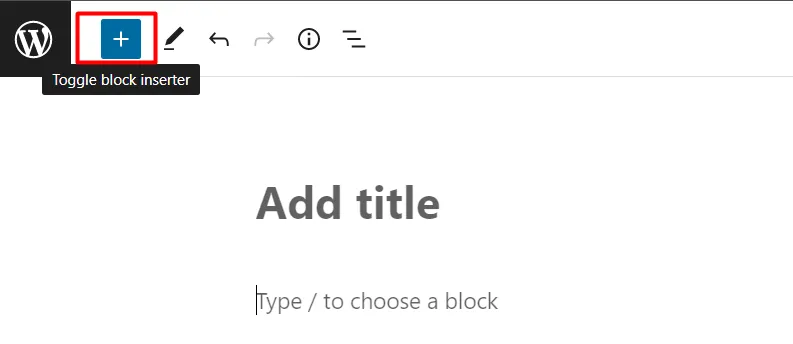
Step 3: Add a block
Once you’re in the editor, click on the plus sign icon in the top left-hand corner of the screen to add a new block.
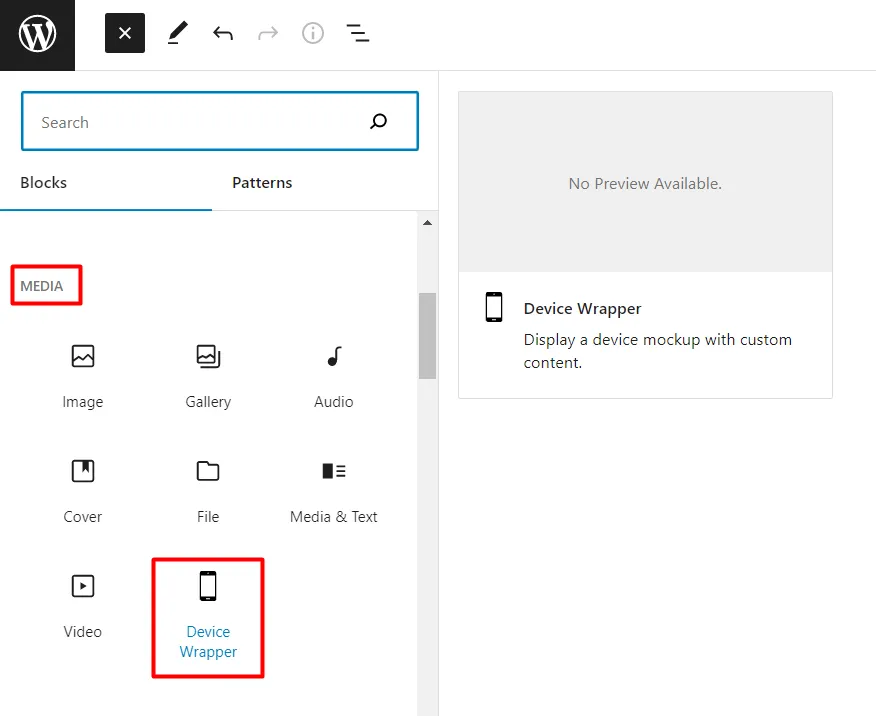
Step 4: Choose the Device Wrapper block
Choose the Device Wrapper block under the “Media” category or use the search field to find it.
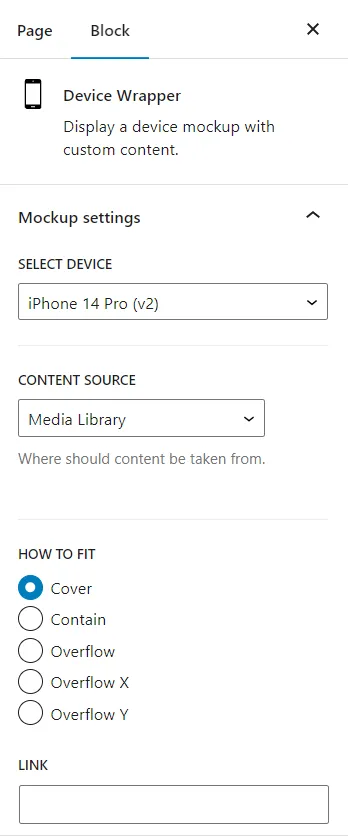
Step 5: Customize the block
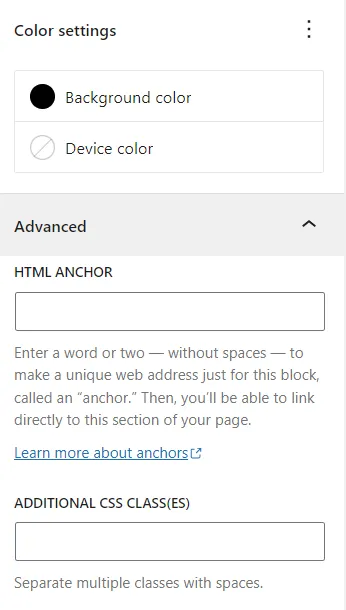
Once you’ve added the block to your page or post, you can customize it by adding your own content (image, video or iframe). You can also adjust the block’s settings, such as its type of the device, size, colors etc. It provides the same options as shortcode, plus basic Gutenberg options such as HTML anchor and additional CSS classes.
Step 6: Save and publish
When you’re finished customizing your Device Wrapper block, click the “Save” or “Publish” button to save your changes and make your new block live on your WordPress site.
3.2 Elementor Widget [PRO VERSION]
If your website uses Elementor builder, you can use the Device Wrapper widget on your page. It provides the same options as shortcode, plus basic options of Elementor’s widget.
Here’s a step-by-step guide on how to add a new Device Wrapper widget on WordPress site using Elementor builder:
- Install and activate the Elementor page builder plugin on your WordPress site.
- Navigate to the page or post where you want to add the new widget.
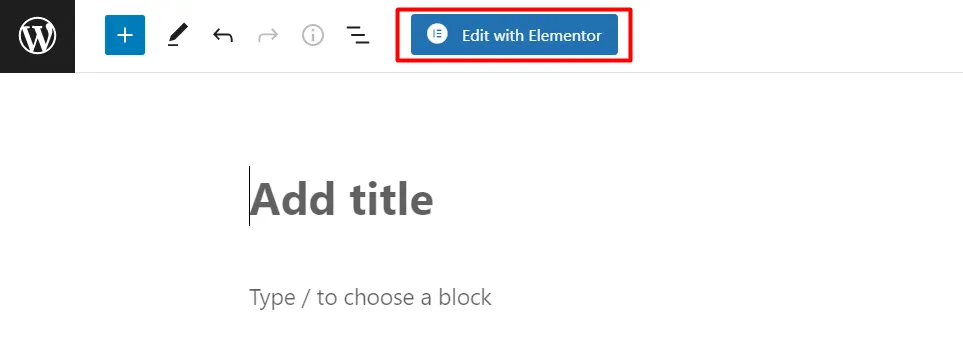
- Click the Edit with Elementor button to launch the Elementor editor.
- In the Elementor editor, click on the plus icon (+) to add a new section to your page.
- Select the column layout that you want to use for your new widget. You can choose from one, two, or three columns.
- Once you have added your new section, click on the Add Widget button to choose the widget that you want to add.
- In the Elementor widget panel, you can search for the widget that you want to add, or browse through the categories to find it.
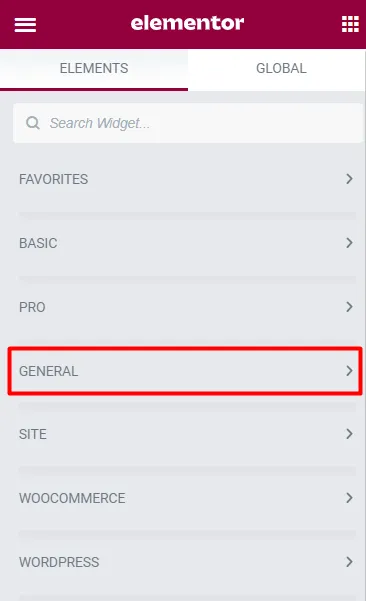
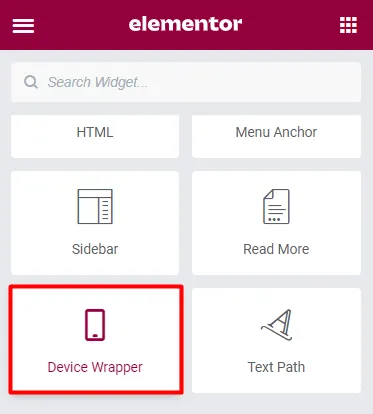
- Once you have found the widget that you want to add, simply drag and drop it onto your new section.
- You can customize your new Device Wrapper widget using the Elementor editing tools.
You can change and configure the content (image, video or iframe) at the Content tab under the Content section.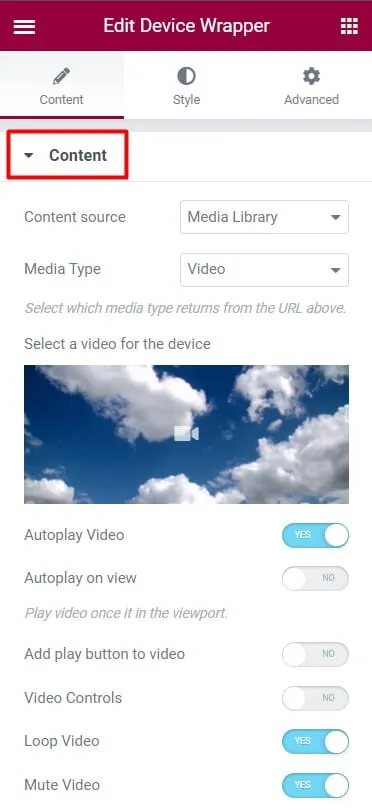
You can change the type of the device, width, alignment and other mockup settings under the Mockup settings section.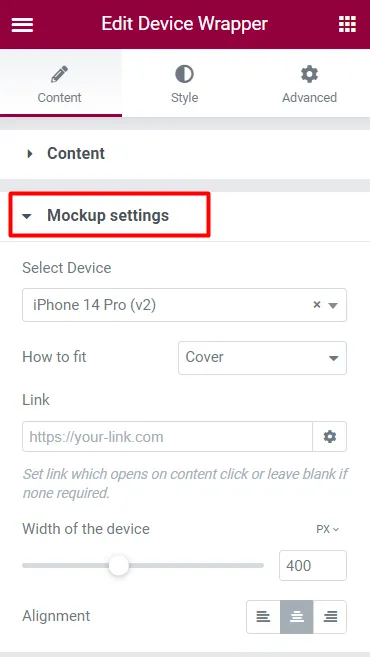
Configure the device’s screen color and device’s border color at the Style tab.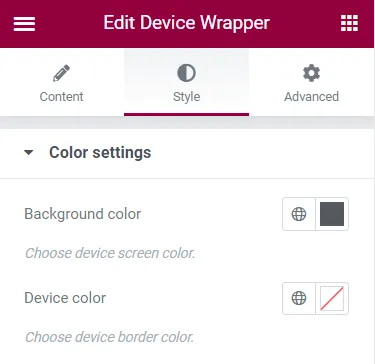
Adjust other design elements to make it match your site’s overall look and feel. It provides basic Elementor options such as paddings, margins and others from the Advanced tab.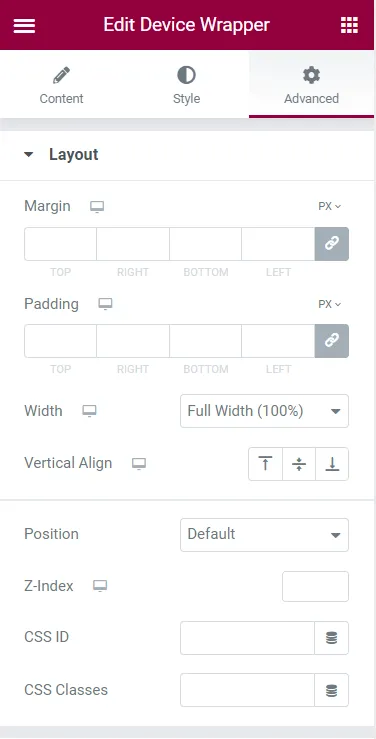
- Once you are happy with your new widget, click the Publish button to save your changes.
3.3 Shortcode Usage
To use the Device Wrapper plugin, simply insert the [device-wrapper] shortcode into any WordPress post or page. You can customize the shortcode by adding specific attributes, such as:
src– source of the content (image, video or iFrame) you want to wrap. Provide an URL or variable name, if themethodattribute equals togetorpost.
Supported image formats are.jpg,.jpeg,.png,.gif,.icoand.svg.
Supported video formats are.wemb,.oggand.mp4.method– how to get the source (defaults tosrc). Available options are:src– simply get it from the src attribute,post– the source located in the$_POSTarray as variable. Provide a variable name in thesrcattribute [PRO VERSION ONLY];get– the source located in the$_GETarray as variable. Provide a variable name in thesrcattribute [PRO VERSION ONLY];
media_type– type of the content from thesrcattribute. Specify how to treat the content’s URL from thesrcattribute. Defaults toimage. The options areimage,video, andiframe.device– type of device to use (defaults toiphone_14_pro_v2). Available devices list:iphone_sephone_11_proiphone_12iphone_12_pro_maxiphone_13iphone_13_pro_maxiphone_14iphone_14_plusiphone_14_proiphone_14_pro_v2(another style of the device’s mockup)iphone_14_pro_maxiphone_15_proiphone_15_pro_maxipadipad_pro_11iwatch_7macbook_promacbook_pro_2023apple_studiogoogle_pixel_4google_pixel_7_prosamsung_galaxy_s23
fit– how the content should fit into the device (defaults tocover). Available options are:cover– cover the device’s screen;overflow– keep original sizes of the content, if the are bigger than screen size – the content will overflow the screen with the ability to scroll it;overflow-x– fit content by height, overflow by X axis;overflow-y– fit content by width, overflow by Y axis;contain– fit completely on the screen of the device.
link– an URL to open on a device’s content click. Leave blank if not required. Available for images only.new_tab– to open the link in a new tab. Defaults to1(true).width– devices width (number).units– units of width (defaults topx). You can providepx,em,rem,vw,vhor%.autoplay– autoplay video (only for video content). This will automatically mute the video, because browsers do not allow it to autoplay videos if they are not muted. Defaults to0(false).autoplay_on_view– autoplay video only when it’s in the viewport (only for video content and autoplay equals1). Defaults to0(false).play_button– add play button (only for video content). Defaults to0(false).controls– add video controls (only for video content). Defaults to0(false).loop– loop video (only for video content). Defaults to1(true).mute– disable video’s sound (only for video content). Defaults to1(true).video_preview– an image for video placeholder (only for video content).bg_color– color of the device’s screen. Defaults to#000000(black color) [PRO VERSION ONLY].device_color– custom border color of the device. By default it’s not provided [PRO VERSION ONLY].anchor– custom HTML ID attribute (anchor) of the block.class– custom HTML classes to add to the block.
4. Support & Contact
- Visit WordPress Support Forum.
- Have a feature request? Let me know via feedback form.
Ready to try?

Keep in touch
Have a thought, complain or request?
Submit a form below.